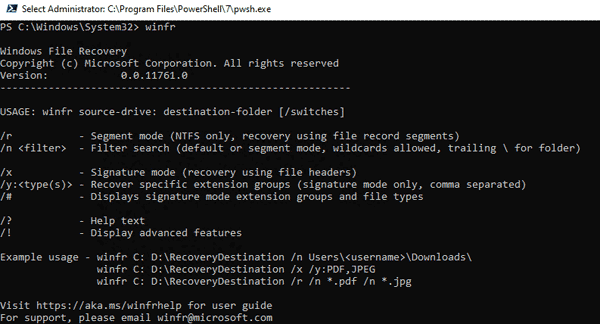
We have all lost files due to various reasons, such as accidental deletion, or accidentally pressing the Shift + Delete shortcut key of a Windows computer, or virus damage or computer crash. Microsoft has released a utility system recovery tool in Windows 10. This tool can meet the needs of professional computer experts because they understand computer systems and can write codes. Users can find this Windows recovery tool in the Microsoft store. But Microsoft File Recovery only runs in the console command prompt mode, so you must follow the steps below.
How to restore permanently deleted files directly in Windows? If you want to get a simple recovery tool and learn the detailed recovery process, let us try Glarysoft’s newly released file recovery tool: Glarysoft File Recovery. It provides users with an easy-to-use interface and easy-to-understand recovery techniques. After downloading and installing, the interface will display as following.
This guide will show step by step how to recover lost files with the Glarysoft File Recovery.
First, we need to view the lost files immediately. Therefore, it is necessary to scan the computer to find the lost files.
Select the drive or partition from the main interface, as showed in the picture below.
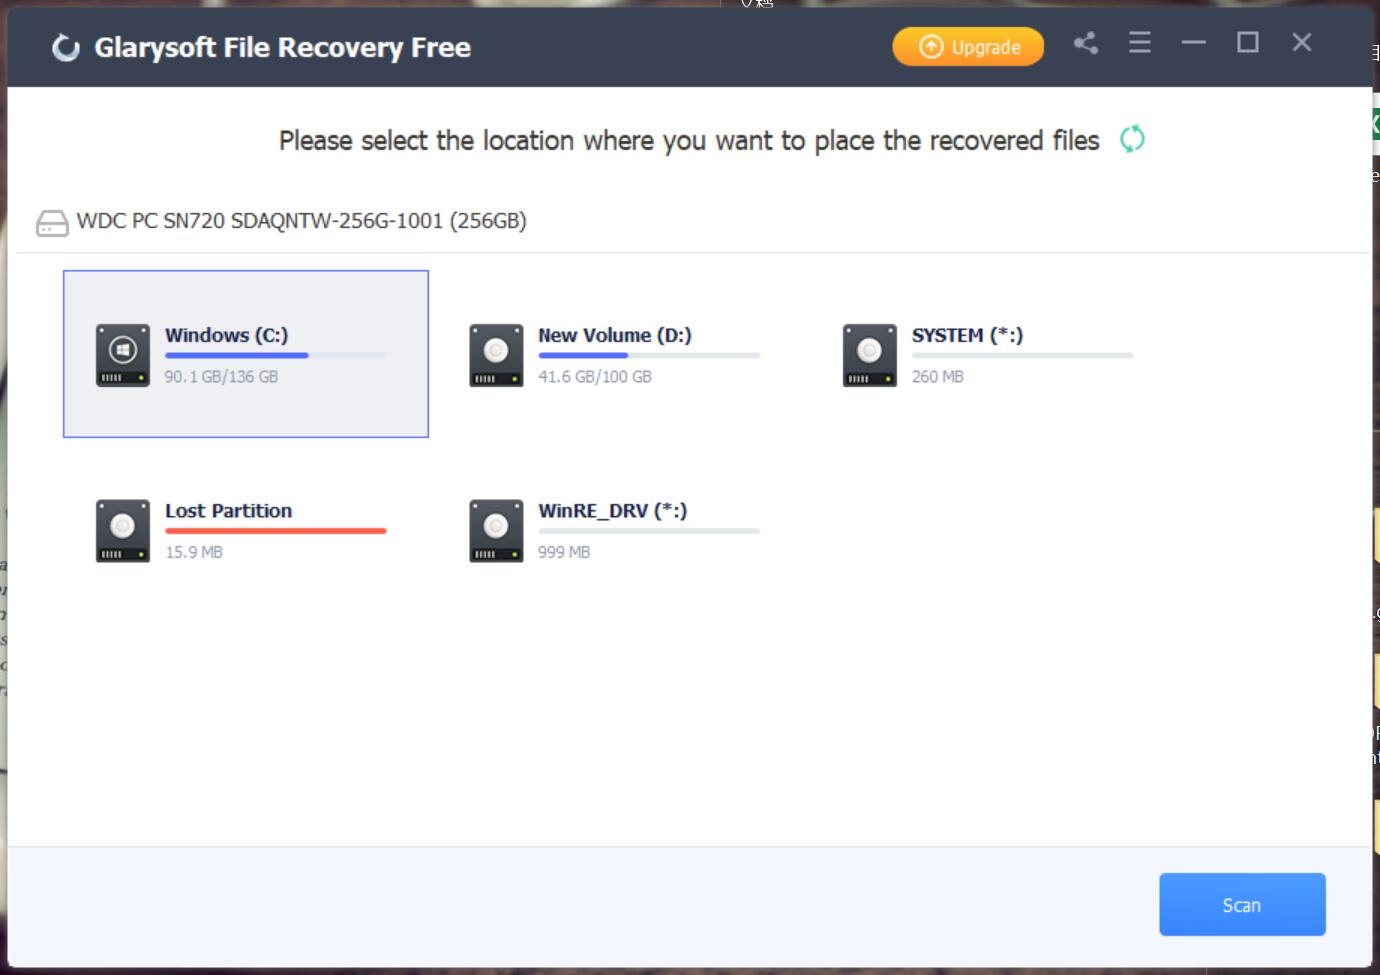
Step 1: Select and scan
If you want to recover photos from a SD card, the program will recognize the memory card after connecting the SD card to the computer. Select and scan the SD card, the files will be listed. Glarysoft File Recovery will perform scan sorting based on the file name, type, or creation date.
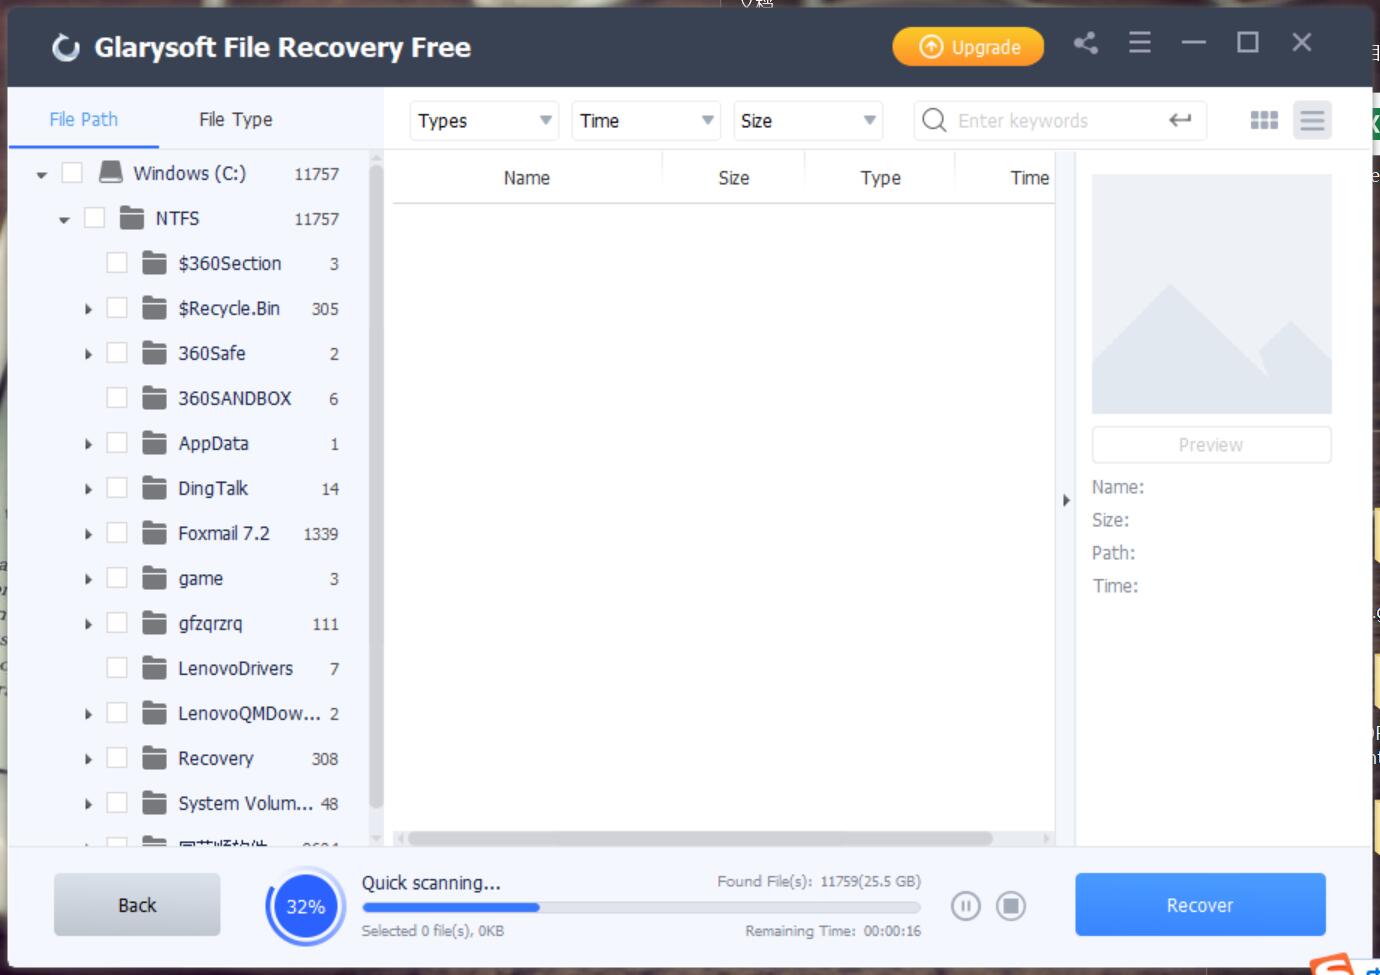
If you remember the name of the photo, please enter the name in the search button to save scanning time. The more information provided about the lost files, the shorter the scan time and the more accurate the scan results. For example, you can provide the size, type, format, or time period of the file.
Step 2: Recovery
After scanning, the interface will list all files in the window. You can preview the file from the view window.
Select the file you want to restore, then select the save path, and click the restore button.
In just two steps, your lost files have been restored to your computer.
Tip: Whether the lost files can be recovered depends on the time of deletion and subsequent operations. After deletion, the files may still be hidden in your computer or device. So please stop saving or deleting any files to reduce the chance of overwriting, which will provide you with more opportunities to recover files.
Glarysoft is committed to creating efficient software for users and has been working in this field for more than 15 years. This year, Glarysoft released two versions of the recovery tool. One is a completely free version: Glarysoft File Recovery Free and the other one is a paid version: Glarysoft File Recovery Pro. The free version is limited to recovering 3 files at most. If you prefer a free recovery tool, choose to download it from Glarysoft File Recovery Free.
We expect any feedback about the Glarysoft File Recovery. Contact us
How to Recover Lost Videos and Photos from My Computer?

Many people store some videos and photos that record their beautiful memory on their computers. But if you lose them due to accidental deletion, formatting, improper operation, or computer virus, how sad it is. Here we provide you a way to recover lost videos and photos to retrieve your happy memories.
We recommend a simple and efficient file recovery tool: Glarysoft File Recovery.
This tool is free, no ads or malware, and it just takes a few simple steps to recover lost and deleted videos and photos. It supports the recovery of almost all file types, including photos, videos, documents, etc. It can not only recover from computers, USB drives, but also from external memory cards (such as camera storage devices). The most important thing is it’s easy to use, even beginners can also operate to complete the recovery.
How to recover lost videos, photos from your computer with Glarysoft File Recovery?
Step1: Download and install Glarysoft File Recovery from here:
https://www.glarysoft.com/file-recovery-free/
Double-click the icon on the desktop to start it on Windows.
![]()
Step2: Scan
A: Select the location of the lost data.
Please select a hard disk.
Support scanning FAT, NTFS, NTFS + EFS file systems

B: Click “Scan”, Glarysoft File Recovery will start a full scan on the selected location. Usually, it takes a few minutes to complete. However, if there are many large files, more time is required.
Of course, during the scanning process, you can pause or stop the operation by clicking the button bottom.

C. After the scan results appear, you can filter files according to Name, Type, Size, Last modified, etc., and locate them precisely to narrow the scope of the results.
You can also locate it further by File Types or Folder on the left panel.

Step3: Preview and Recover
A: Glarysoft File Recovery allows you to preview recoverable files in advance. You can select the target file, and then preview to confirm whether the file is you need.

B: After previewing the files and confirming, check the files that need to be restored. Then directly click the “Recover” button to retrieve the lost data, and select the path to save the restored files to complete.
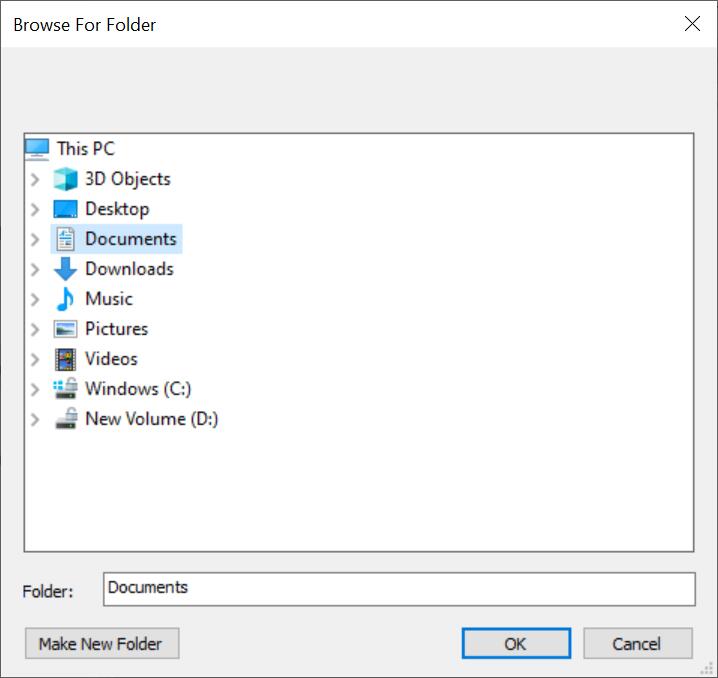
Tips: Please do not save the file to the same location to avoid overwriting the data.
Step4: Recover data from the external device
If your videos and photos are lost from external devices on your Windows computer, such as external hard drives, memory cards, SD cards, digital cameras, drone cameras, USB flash drives, etc., Glarysoft File Recovery can also help you recover them. The different step is that external devices need to be connected to the computer. Make sure it can be recognized or detected. Then follow the above steps for file recovery.
Note: The Free version provides a limit on the number of recovering files. For more recovery needs, upgrade the free version to Pro. The price of Glarysoft File Recovery Pro is reasonable, there are single or annual packages, you can choose the suitable plan according to your needs.

Hope this program can help you!

Leave a Reply