In today’s digital world, photos and videos capture both cherished memories and important professional moments. Losing these valuable files due to accidental deletion or unexpected system failures can feel like a major setback. Fortunately, data recovery software offers a practical solution to restore lost content and bring back your treasured memories.

For a straightforward and reliable recovery option, we recommend Glarysoft File Recovery. This user-friendly tool is completely free, with no ads or malware to worry about. With just a few simple steps, it allows you to recover deleted or lost videos, photos, documents, and more. Supporting a wide range of file formats, the software is compatible with computers, USB drives, and external memory devices such as camera storage cards. Best of all, its intuitive interface ensures that even beginners can easily navigate the recovery process and restore their files without hassle.

Glarysoft File Recovery is a practical choice to quickly regain access to your photos and videos, ensuring you can retrieve those priceless memories effortlessly.
How to recover lost videos or photos from your computer with Glarysoft File Recovery?
- Download and install Glarysoft File Recovery from Filepuma.
Double-click the icon on the desktop to start it on Windows.

2. Scan
A: Select the location of the lost data.
Please select a hard disk.
Support scanning FAT, NTFS, NTFS + EFS file systems

B: Click “Scan“, Glarysoft File Recovery will start a full scan on the selected location. Usually, it takes a few minutes to complete. However, if there are many large files, more time is required.
During the scanning process, you can pause or stop the operation by clicking the button bottom.

C. After the scan results appear, you can filter files according to Name, Type, Size, Last modified, etc., and locate them precisely to narrow the scope of the results.
You can also locate it further by File Types or Folder on the left panel.

3. Preview and Recover
A: Glarysoft File Recovery allows you to preview recoverable files in advance. You can select the target file, and then preview to confirm whether the file is you need.

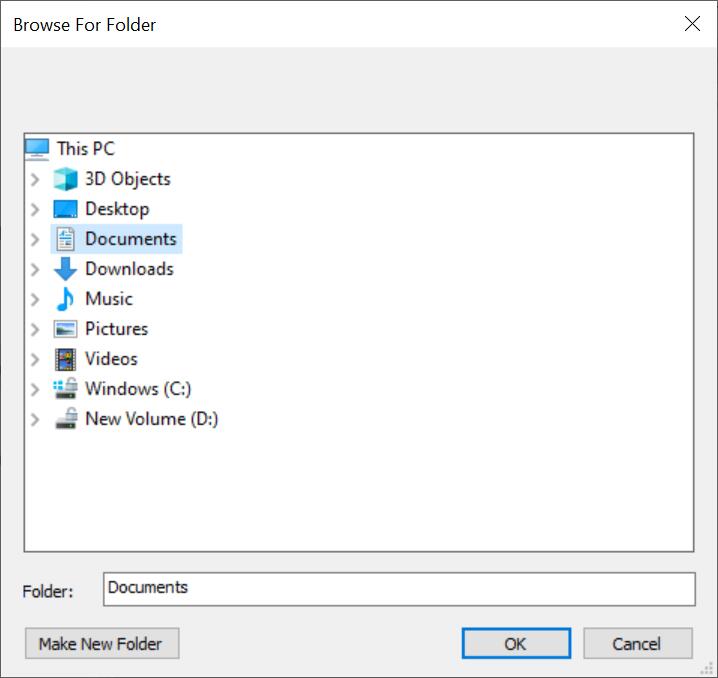
B: After previewing the files and confirming, check the files that need to be restored. Then directly click the “Recover” button to retrieve the lost data, and select the path to save the restored files to complete.

Tips: Please do not save the file to the same location to avoid overwriting the data.
4. Recover data from the external device
If you’ve lost videos or photos from external devices like external hard drives, memory cards, SD cards, digital cameras, drone cameras, or USB flash drives on your Windows computer, Glarysoft File Recovery can assist in restoring them. The key requirement is to connect the external device to your computer. Ensure the device is properly recognized or detected by the system. Once connected, you can proceed with the recovery process using the same steps as mentioned earlier.
Note: The free version of Glarysoft File Recovery has a limitation on the number of files you can recover. For additional recovery capabilities, you can upgrade to the Pro version. The Pro version offers a reasonable price with options for both single and annual subscription plans, allowing you to select the plan that best suits your needs.

Losing videos and photos from your computer can be distressing, but it’s important to remember that recovery is achievable with the right tools and expertise. By using trusted software, users can effectively retrieve their valuable memories and important files. However, prevention plays a significant role, so adopting good data management practices can greatly reduce the chances of future data loss. We hope this program proves helpful in your recovery efforts!

Leave a Reply